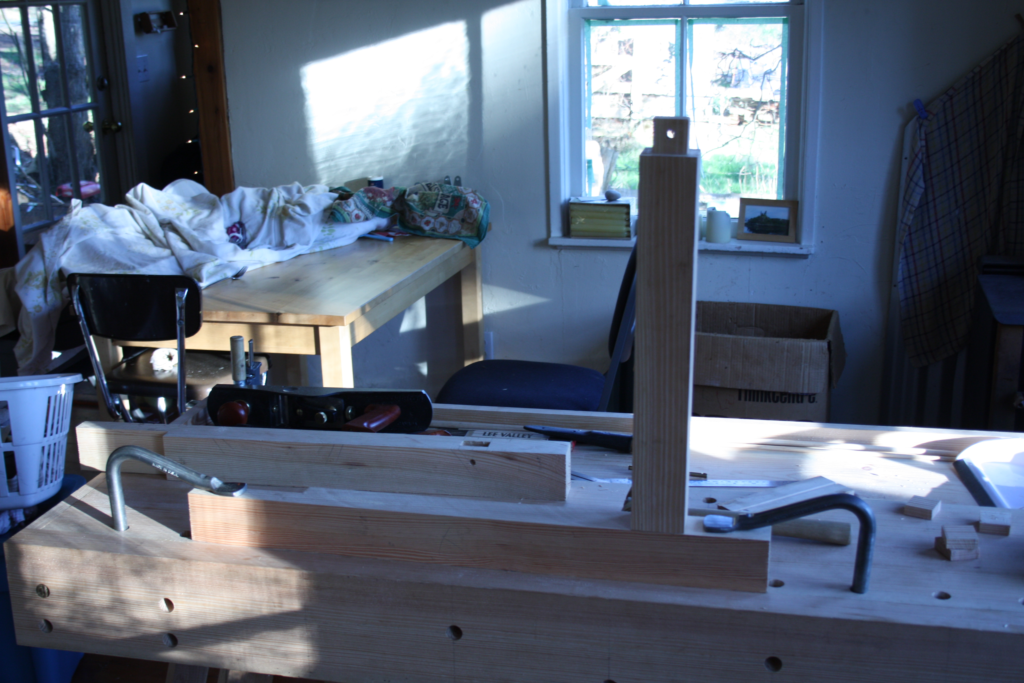
Now that I have a proper workbench in my living room, I need a place to store my tools. Currently they live in a duffel bag and a rubbermaid tote. This is less than ideal.
The bag has been schlepping my hand tools for a couple years now. A lot of the time at work I want to use my own tools for various tasks, so this was the answer for portability. Now as my hand tools are increasing both in quality as well as quantity it’s time for better storage.
Also, apologies for the photos for this bit of the project. My wife had her DLSR with her and I left my proper digital camera at my dad’s shop. So cell phone pictures are all I have.
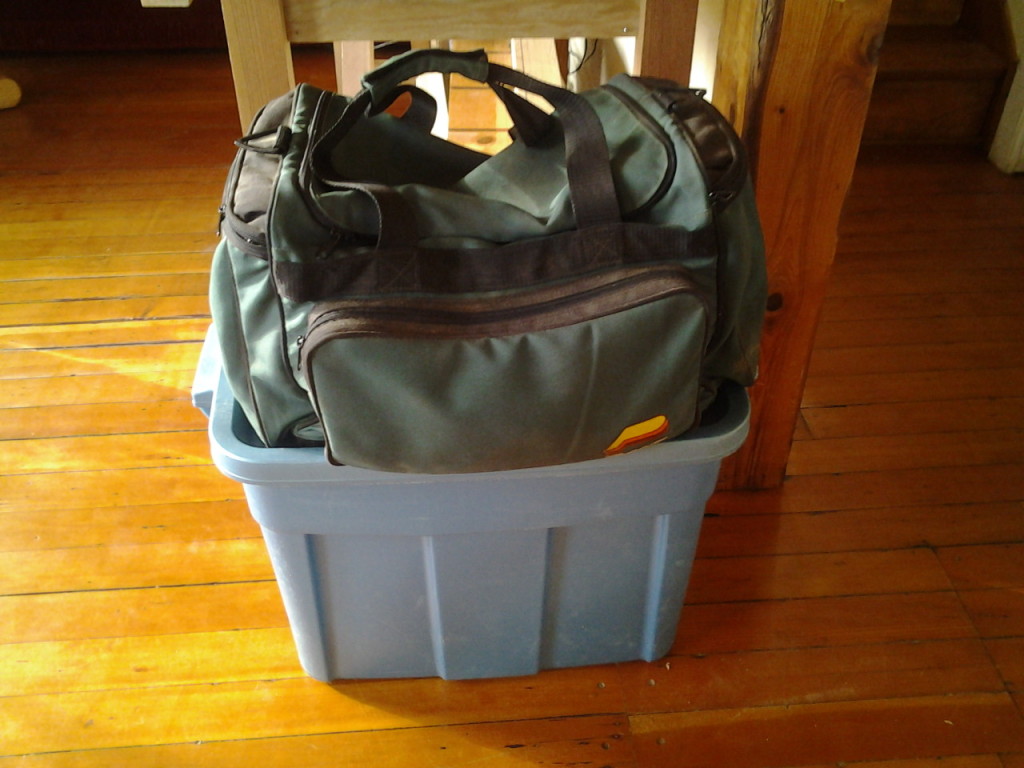
My current tool storage.
In the place that my workbench now occupies, there was a small desk. It’s what I used to keep my laptop on. Now the workbench is my computer desk. The old desk was one that my wife inherited from her mother. My mother-in-law bought the desk when she was a teenager, so it has some ‘family history’ I guess.
That being said, it’s made of pine and held together with staples. So it’s not holding up so well. There is a decided wobble to it when you push on the top corners. Because the desk is superfluous and our house is small it has to go. But it has sentimentality going for it, and because of the sub-standard ‘joinery’ I wouldn’t want to bestow it on anyone else. So I thought the best thing for it would be to dismantle it and re-purpose the wood. I like free wood, and re-using material is good for the planet and everybody else.
It turns out the dimensions of the desk will give me most of the parts for Chris Schwarz’ small dutch tool chest. The wood is pine and it’s 11/16″ thick so it’ll be lightweight which is ideal. It’s a bit thinner than the Schwarz would recommend probably, but I’m ok with that.
The dutch tool chest is also ideal because of it’s unsophisticated but sturdy joinery. Which will compliment this unsophisticated but serviceable wood.

The desk’s final moments.
My wife and daughter were away for the weekend, so I was home alone for two and a half days with my tools and a project. I woke up really early Saturday morning (unintentionally), so got right to it. A prybar, catspaw and some pliers made quick work of turning the desk into a neat stack of pieces. I ended up with half a coffee cup full of staples.

The desk un-joined.
I had to walk down the street to the hardware store to buy a 1×12″ pine board to make up for the few pieces I’d be short. I’ll also use some thin douglas fir I have in my milled lumber pile at work for the tongue and groove boards that make up the back of the chest. The lumber yard only had laminated pine shelving (made up of a bunch of smaller strips glued together). While this stuff is pretty ugly and almost unplanable with hand planes due to the knots and reversing grain, it is straight and square. And cheap.
It’s also a full 12″ wide, whereas S4S pine would be 11.25″, so I gain an extra 3/4″ in depth to the tool chest. It’s going to be painted anyway, and full of tools so I went with it to get the project underway.

30° cut to get both sides from one board.
I started out cutting the sides from the board I just bought. The shelf that separates the top and bottom compartments will also be from the pine shelf board.
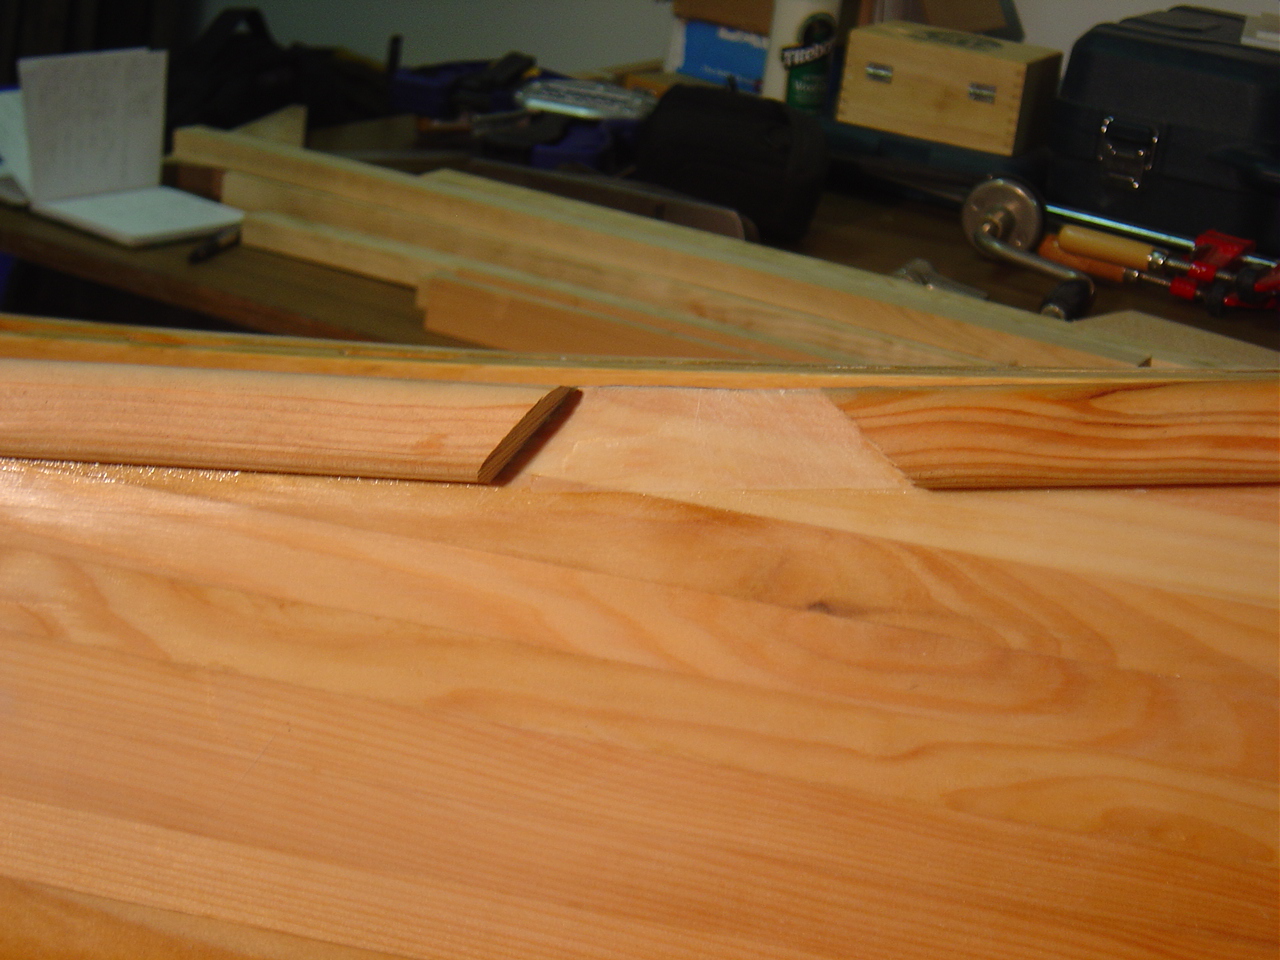
By laying out a 30° line that crosses the centre of the board I got both sides with matching angles and minimum wasted lumber. After clamping the boards together and cleaning up my angle cut with a plane, I started to layout the dovetails. The bottom of the chest is dovetailed to the sides. Tails are on the side boards to resist the downward stress on the bottom of the chest. The shelf that makes the upper compartment is dadoed into the sides. That is the extent of the joinery on this project. The rest is screws and/or nails.
This was my second use of dovetails, after the workbench. I guess since the workbench had half blinds at each end of the apron, and through dovetails at each end of the tool well this would be my third set of dovetails. Dovetails usually come in pairs I suppose. However you count them, I haven’t cut many.
It was certainly my first time gang cutting tails. And gang coping them. I’m a fan.
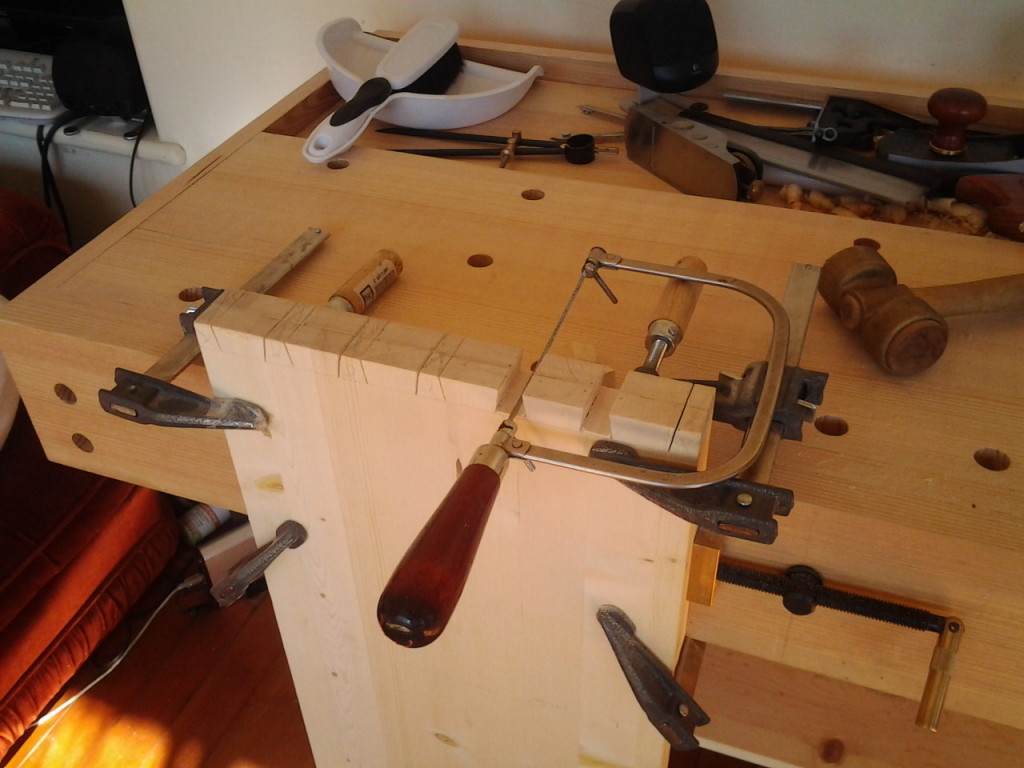
Two tails at the same time, man.
I’ve seen people make this out to be a big deal. Lots of people on forums and blogs say “when I get more practice with dovetails, I’ll try gang cutting them” or gang coping. I’ve found with almost all hand tool tasks that confidence is key. Just go for it. If you don’t overthink what you’re doing it seems to work out better. Most of the time. I’ve confidently powered my way into some terrible blunders. But those are still the minority.
Cutting these tails was a success. I channelled my inner Klauz and these just flew along. I got pretty cocky after those first two in the photo and took it right down to the baseline. And it was fine. Doing shop projects with free lumber is fantastic for practising skills.
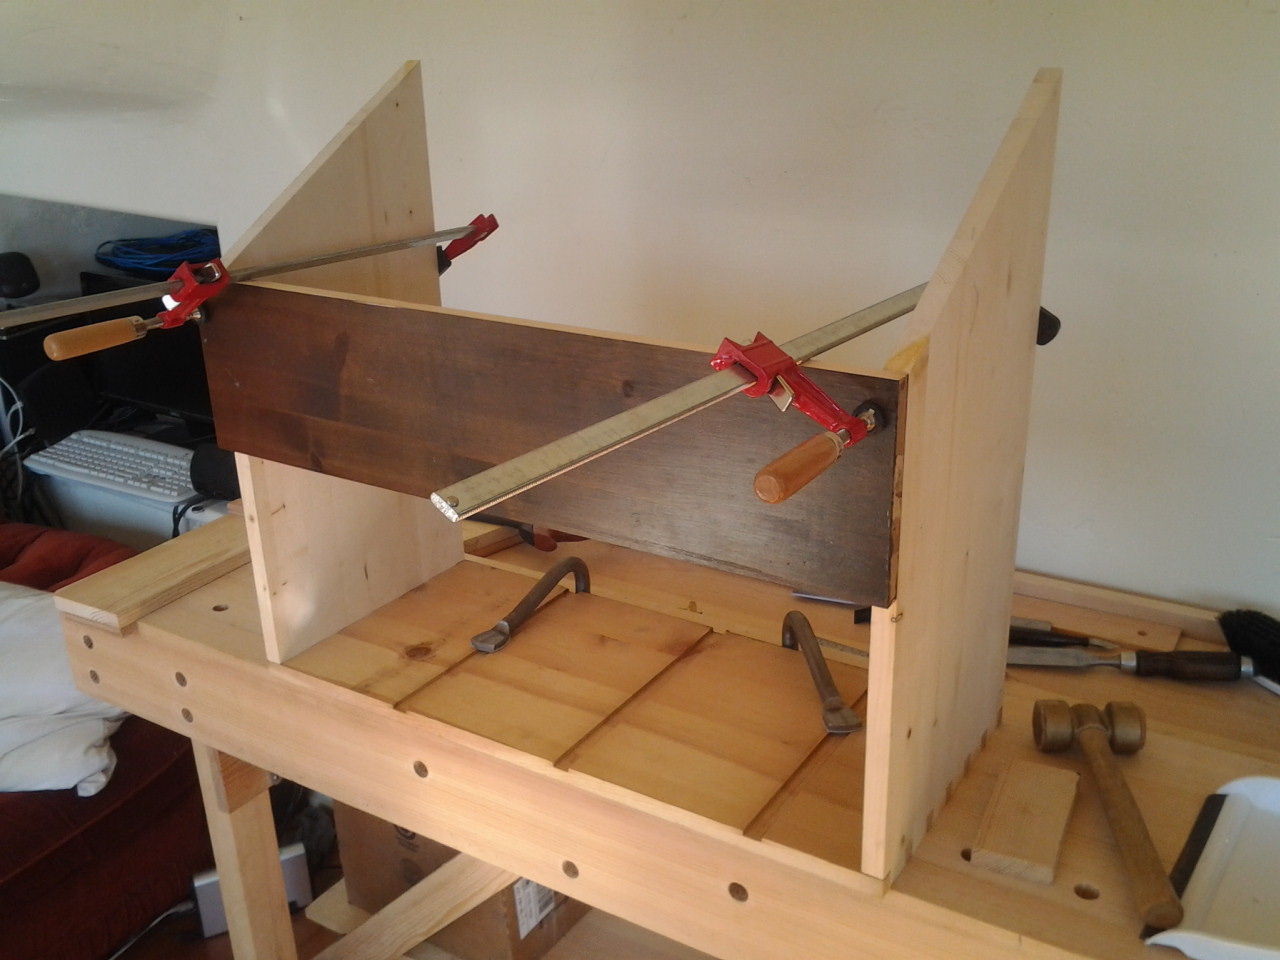
After the dovetailing fun, I cut the dado on each side to receive the shelf. You can’t see the shelf in the photo above because it’s hiding behind the front piece. What you can see are three dadoes on the bottom board. Those are from the desk, where the drawers went. I didn’t want to waste those boards that had the dadoes (there are two of them). I didn’t want them on the lid or the sides however. When I thought about the bottom though, I figured that maybe I might want dividers in that big empty box space. So that’s where that board got put.
I’ll use a strip of the other dadoed board for the bottom piece of the T&G back, with a rabbet to make it the same thickness as the other T&G boards. I’ll align the dadoes with the bottom board. Then I can cut some dividing walls that I can click into those dadoes. If I decide I don’t like the separators then I’ll just cut some thin strips to fill them flush.
I have the fall-front cut out as well, but not shown. I need to sand off the outside on that and put either a rabbet or a cove or something on the edges to make it stand out. I’d like to put a bead on the bottom of the front board up top as well. I may try Paul Sellers screw head method since I don’t have any beading tools to speak of yet.