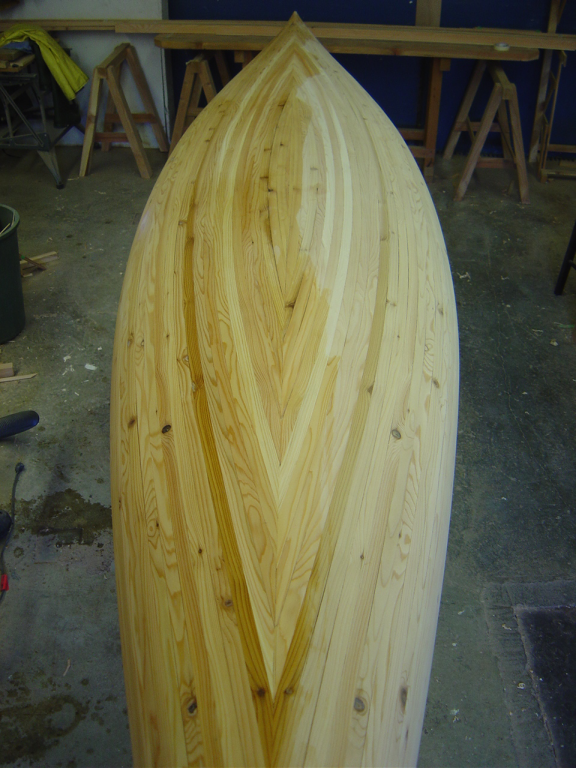
The stems are glued in place, and now it’s time to shape them into a fair curve with the rest of the hull. This is another spokeshave job, so I really had fun doing this. I did use my #4 smoothing plane to bring the bottom of the stem (on top of the inverted boat…) down to match the hull. But it could have all been done with the spokeshave.
I left the leading edge 3/8″ thick for eventually adding a brass stem band. It comes out looking something like this.

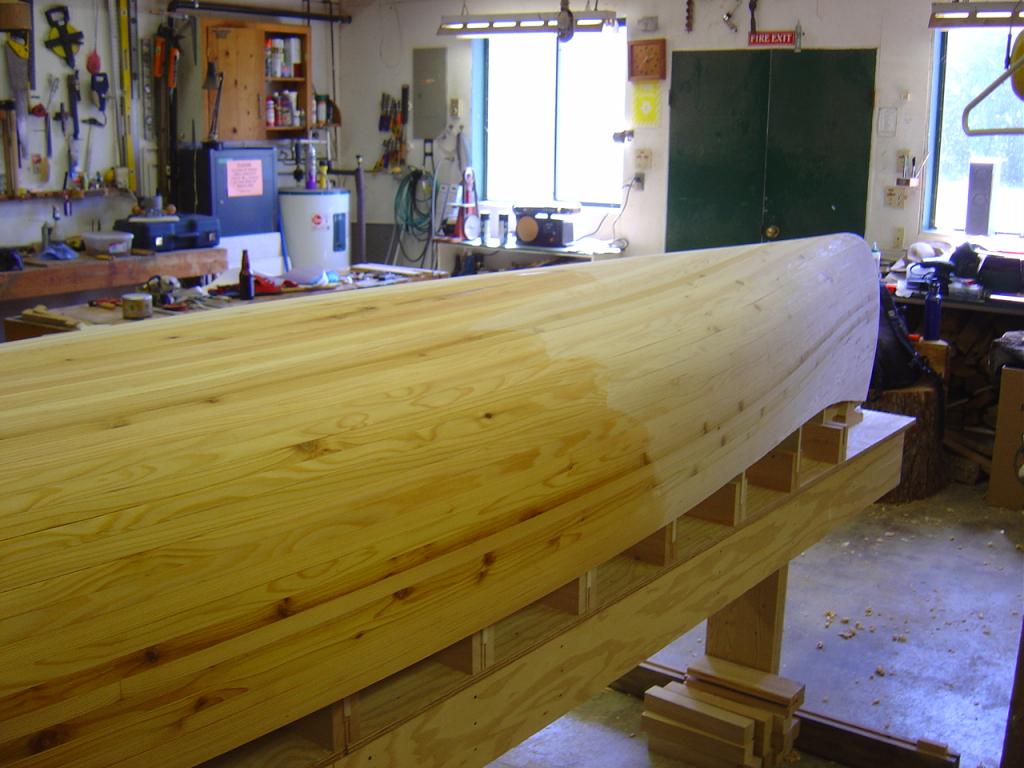
The circled patches on the hull are high spots. I had done one pass with the random orbital sander at this point.
I really dislike sanding. When I first read Canoecraft and after having done some reading online I was pretty bummed by the amount of sanding that was described. Sanding is dusty and if you’re using a power sander it’s noisy as well. So wearing a respirator and earmuffs for hours wasn’t something I was looking forward to.
I did find that there wasn’t near as much sanding as people told me there would be. I ended up with about 3 hours of sanding for the exterior of the hull. Maybe I did more of my fairing with the spokeshave than some people ? I was able to get away with 60 grit for almost all of it followed by one quick pass with 120 grit.
After the 60 grit I wiped the hull down with a wet rag to raise the grain. The neat part about this is that it shows you what the hull will look like after the epoxy goes on.