Archives for Marc's Miscellanea

Router table recursion

On how I used a router table to make a router table…

temporary router jig 1

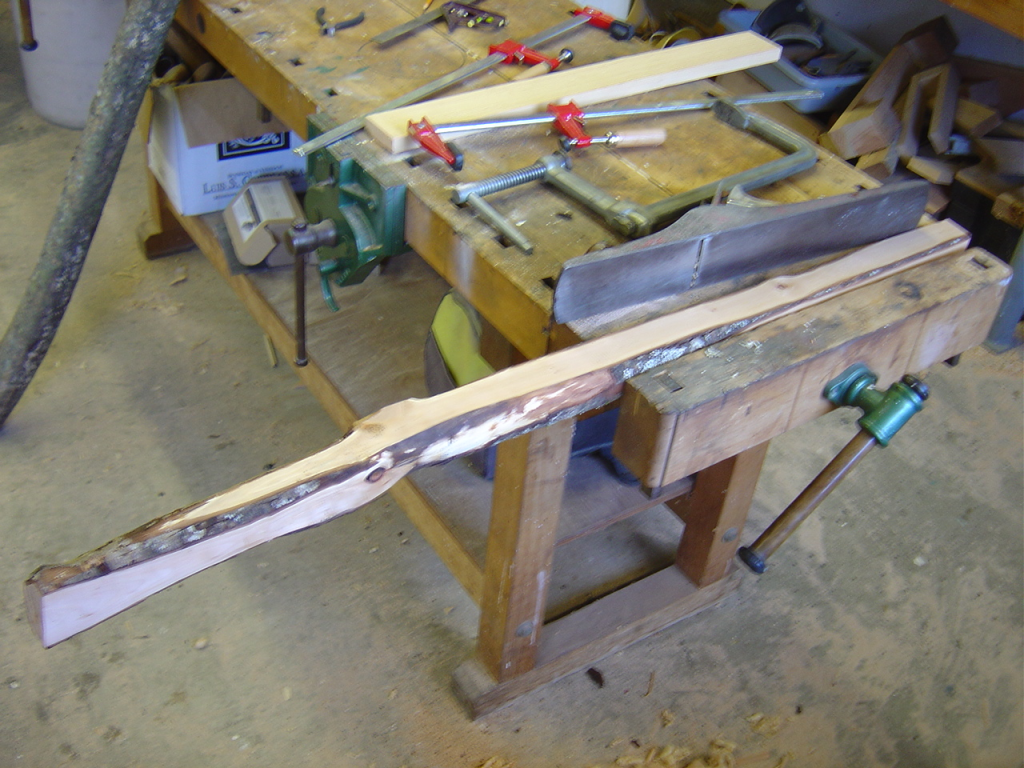
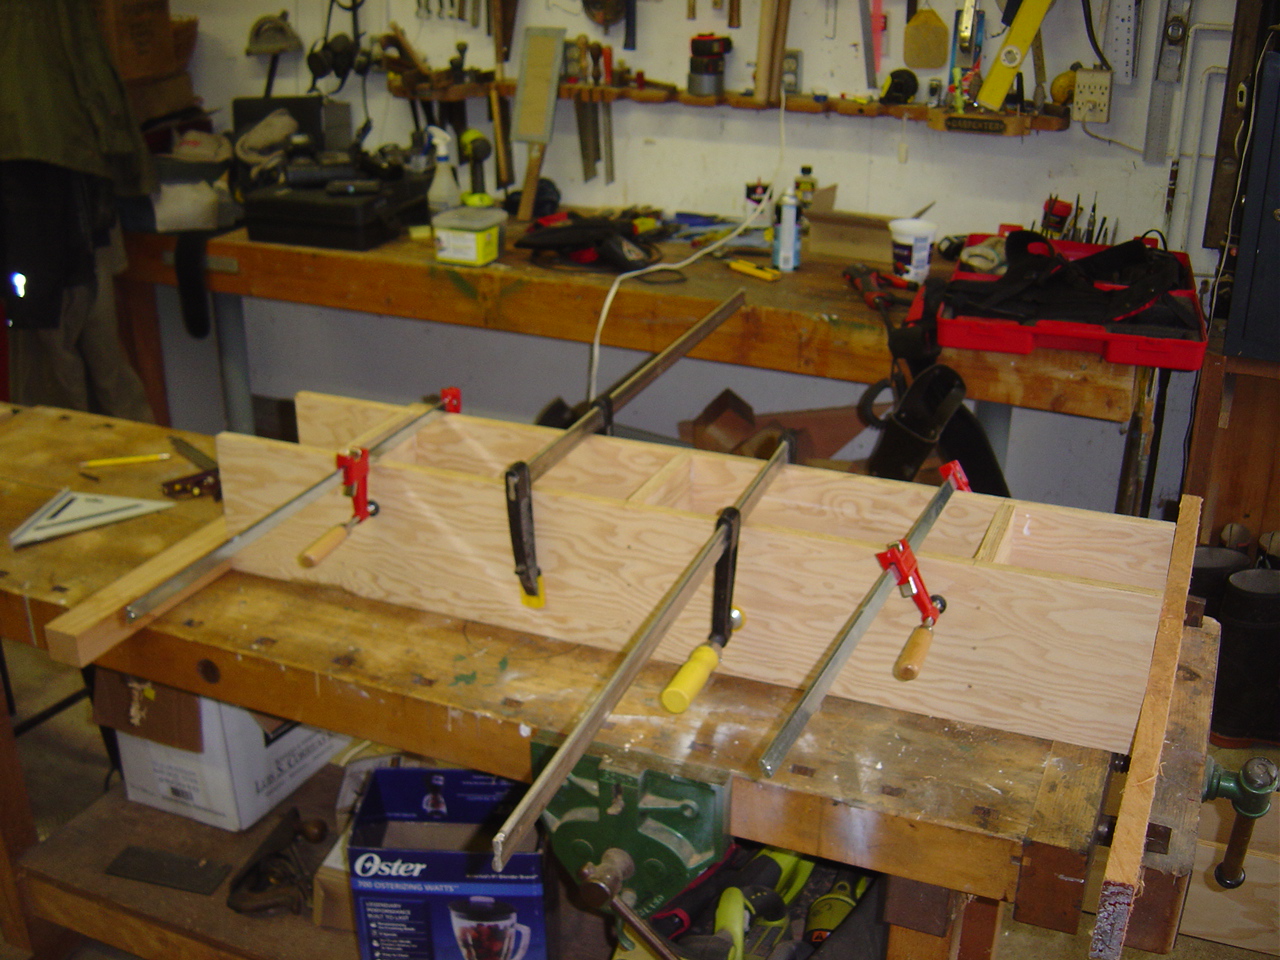
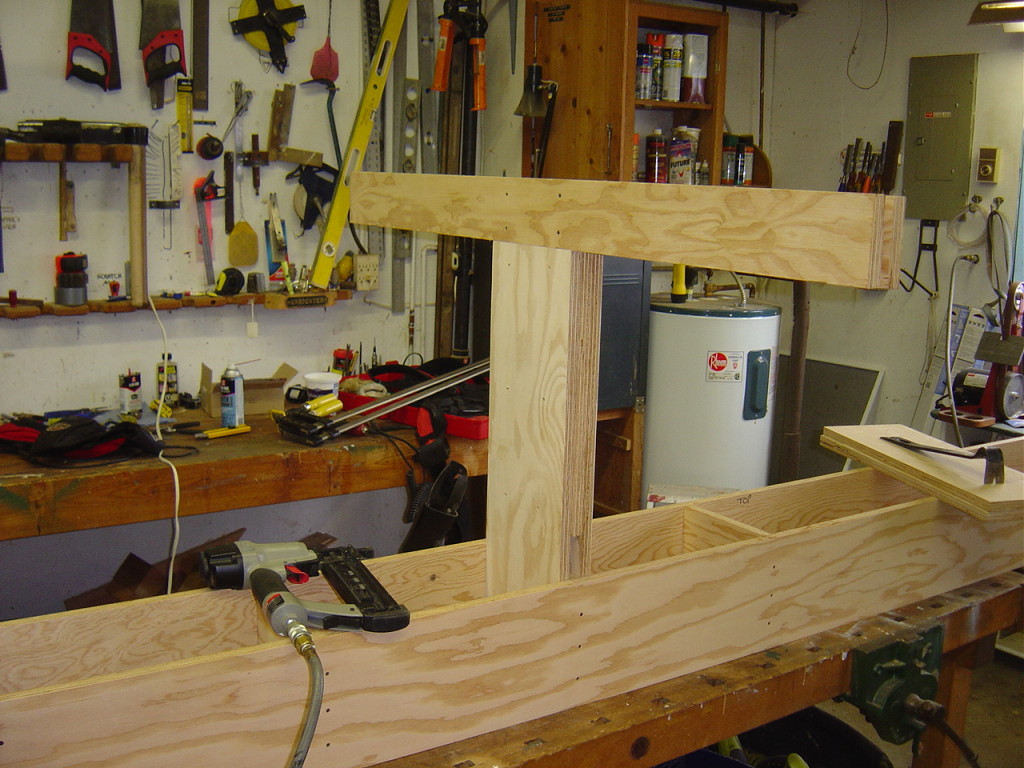
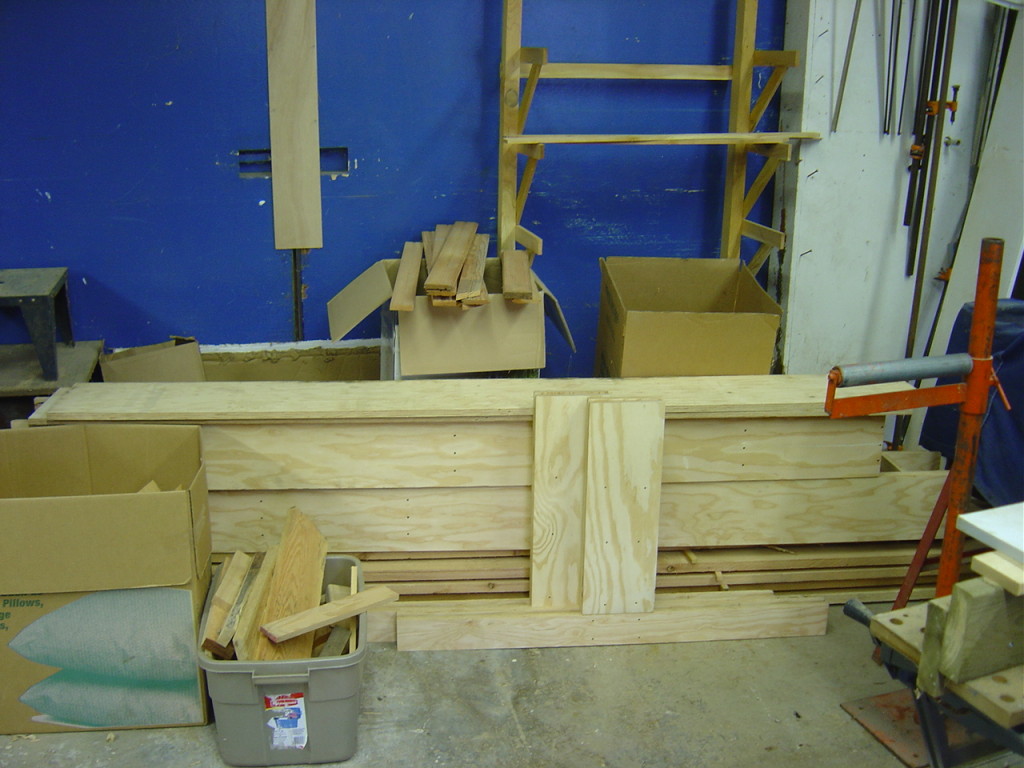
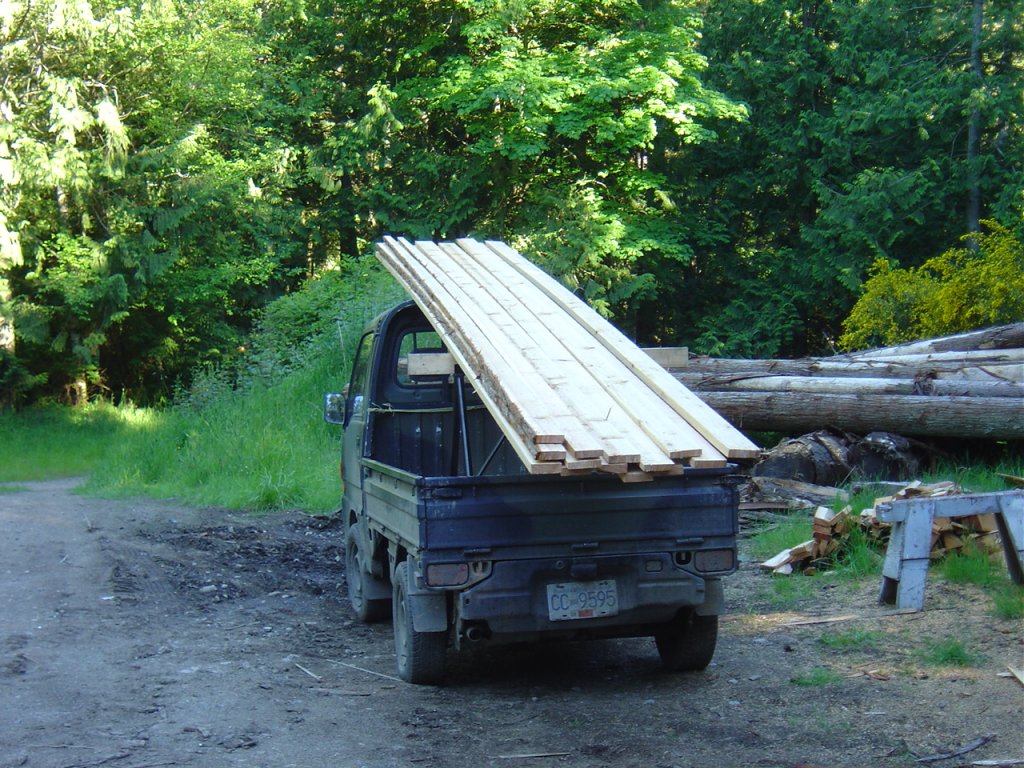
I have to make a router table to put the bead and cove edges on the strips once they’re cut. But as I was getting the parts made up for it, I realized that to rebate the bottom edge of the router plate I made would be best done on a router table. So I made a very crude router ‘platform’ to do that operation. Table is too grandiose a description for what you see above. It’s all made out of chunks from the scrap bin.

temporary router jig 2
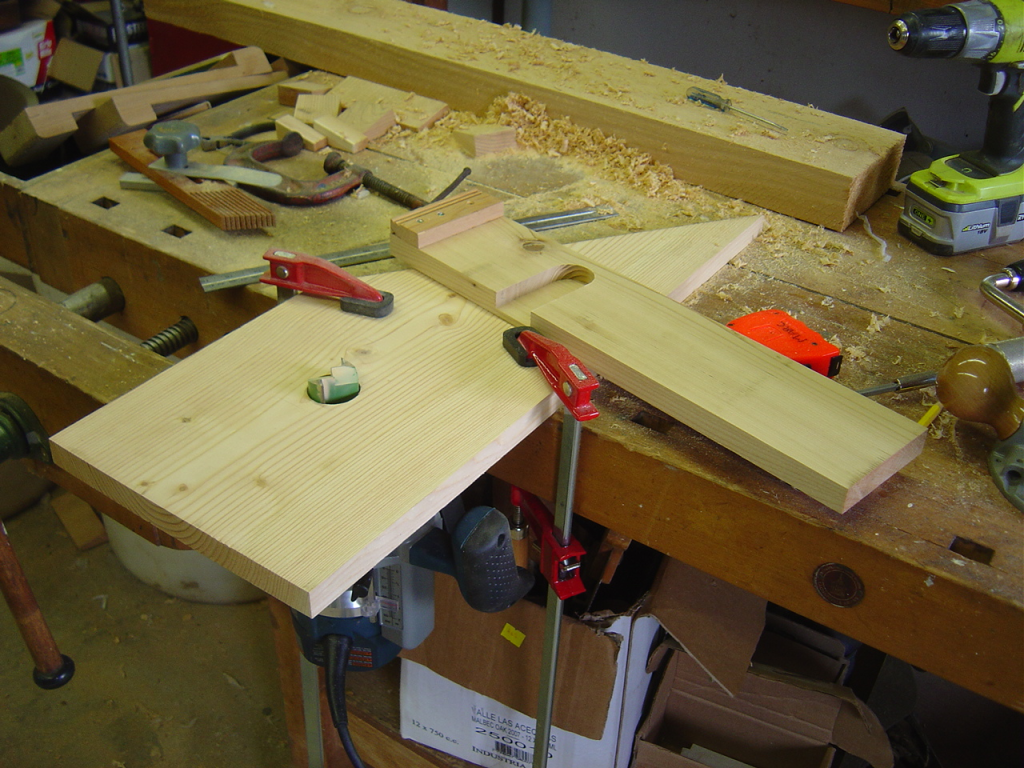
My plunge base is just screwed to a 10″ wide board with a small fence to help me get the alignment right. Then I put in a big 1-1/2″ bit and plunged through the board. The whole thing got turned upside down and bolted to the bench with a face vise supporting the outside edge. Then I planed a small chunk of cedar, stapled a guide to it to keep it square and ran it over the bit to make a fence.

temporary router jig 3

The insert is made of UHMW which machines very nicely. I would have liked to use acrylic for more rigidity, but I got this for 10 cents at the thrift store as a cutting board. Because my temporary fence has the bit groove run right through (a dado), the chips shot nicely out the back side into a pile. Something I’ll keep in mind for future fences for the more permanent table.

router inset setup

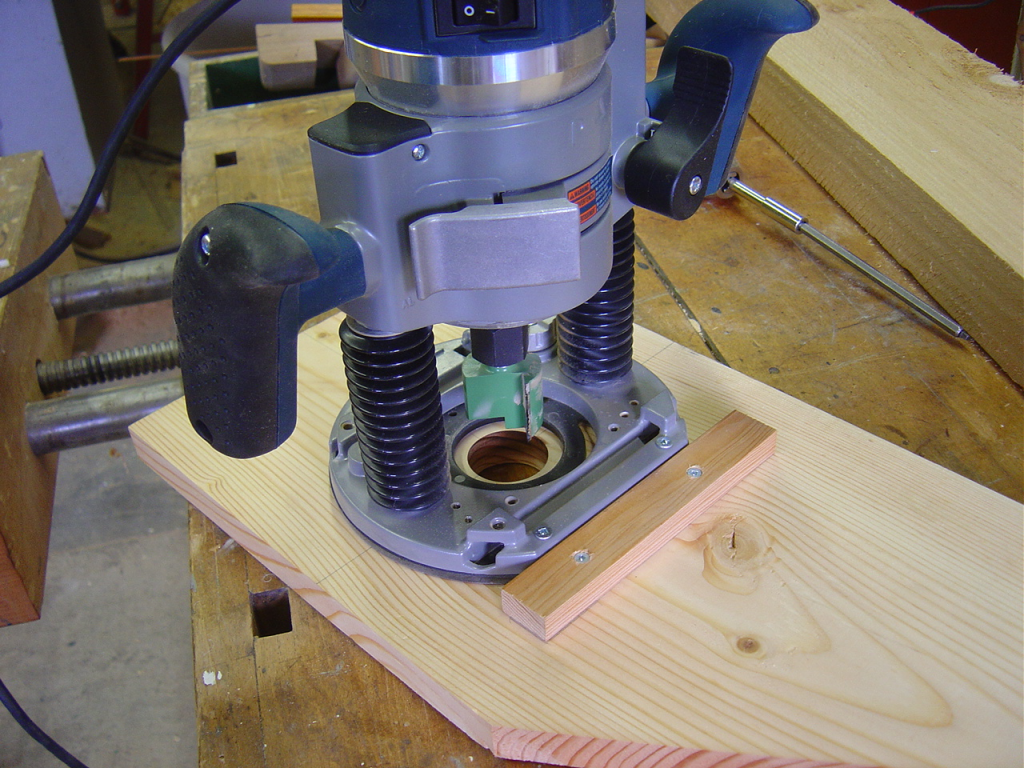
After putting the finished router plate onto my MDF surface and measuring the offsets I needed I made an enclosure for the router. A 1/2″ bit then cuts the shelf that the plate will rest on. The rebate made on the jury rig router platform sits on that lip. I didn’t want to make it the full thickness of the UHMW plate because that would have only left 1/4″ of MDF supporting the router. I’d also like to replace the UHMW plate someday with 1/4″ acrylic and then this shelf will be the right height for that.

router plate flush

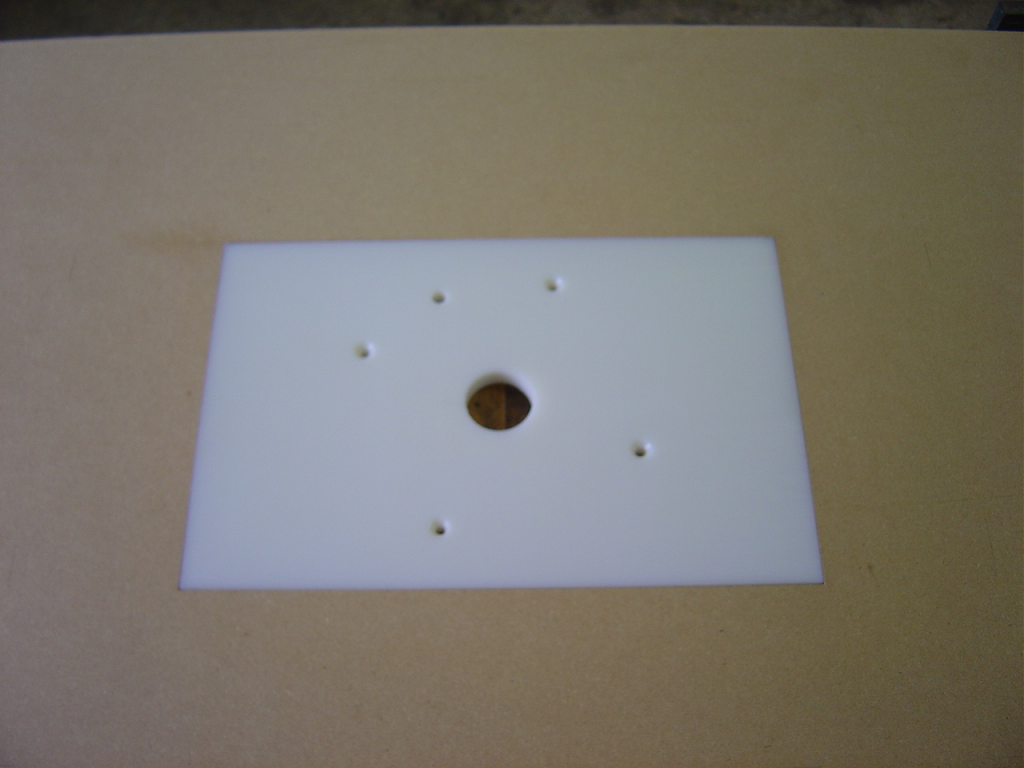
After cutting the centre out with a jigsaw and trimming the corners square with a chisel it makes a pretty snug fit. One edge (bottom in this picture) has about 1/64″ gap that I’m not too happy about, but I can make my next router plate to fit it better.

router sawhorses 1

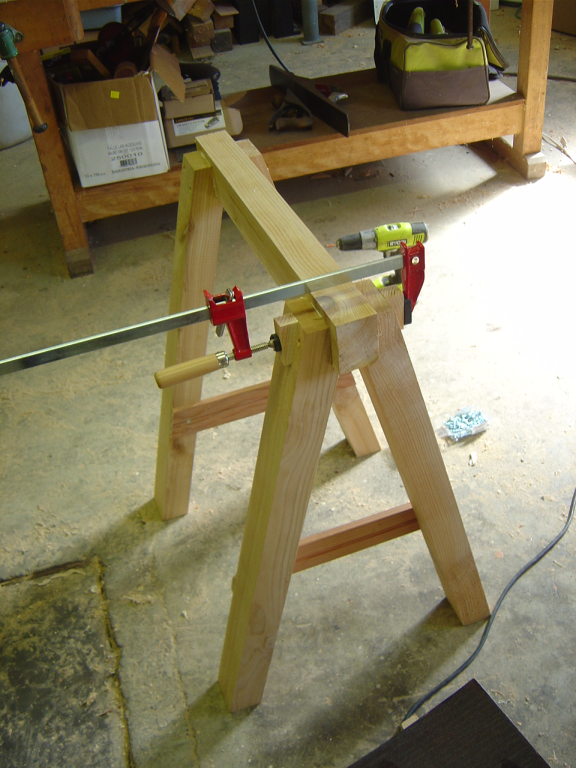
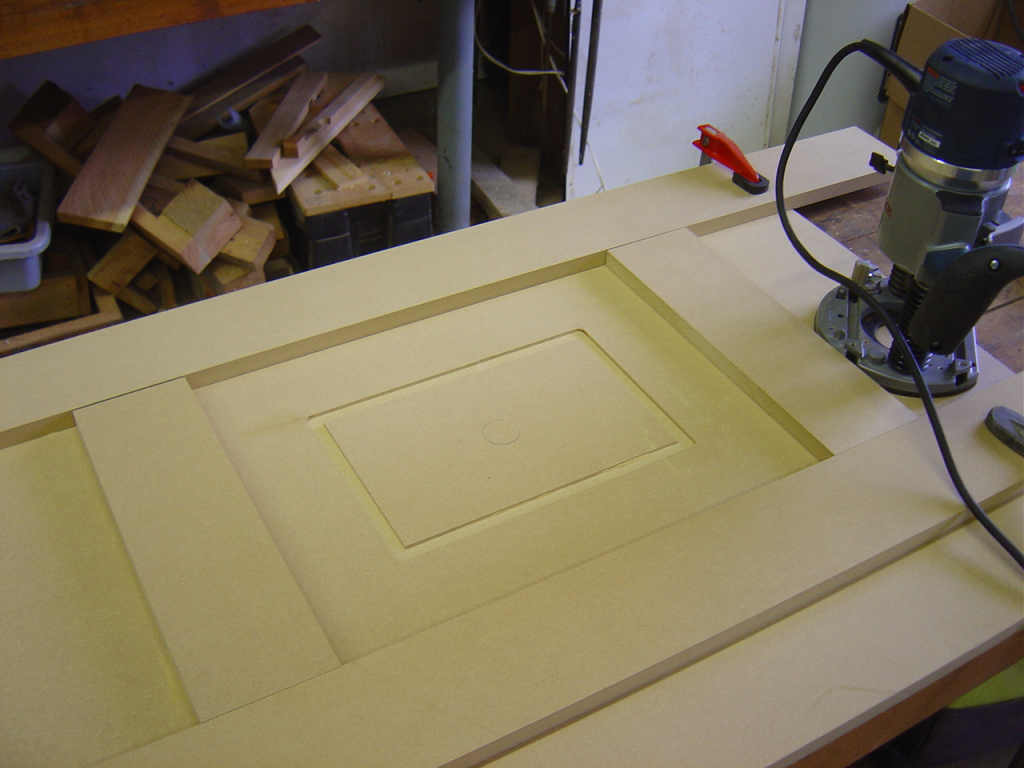
I clamped the table top to my new sawhorses and put the temporary straight fence on to try it out. It proved to be quite functional.

I’ll build a frame to support the table top and trim the edges to protect it in the long term. My tests also confirmed my suspicion that I’ll need a split fence to do the cove edge of the strips. Once the bit has cut the cove there is material missing so the strip doesn’t ride the outfeed side of the fence. I’ll have to make a bead edge to support and protect it after it has passed the bit.

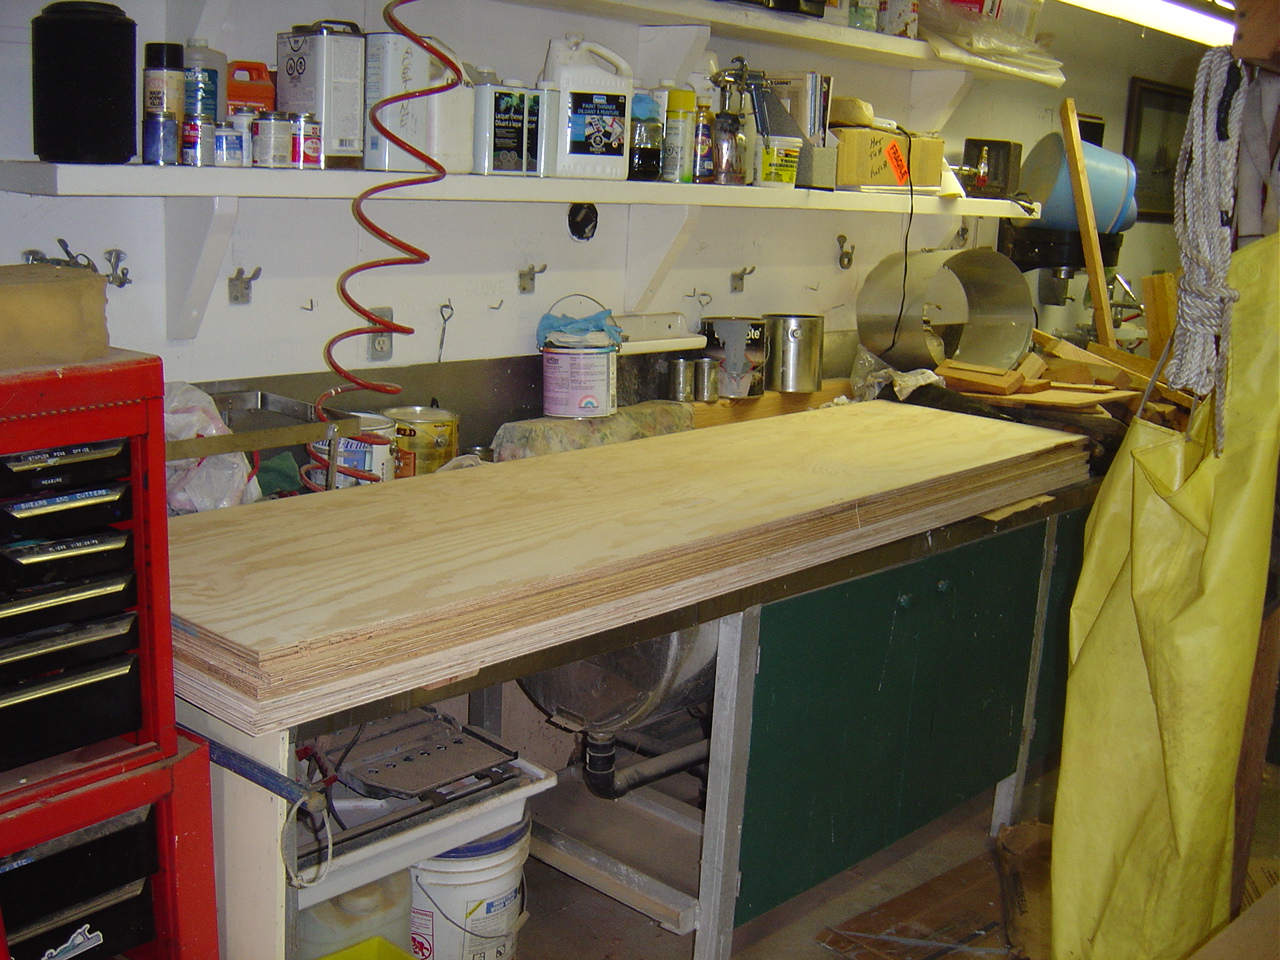
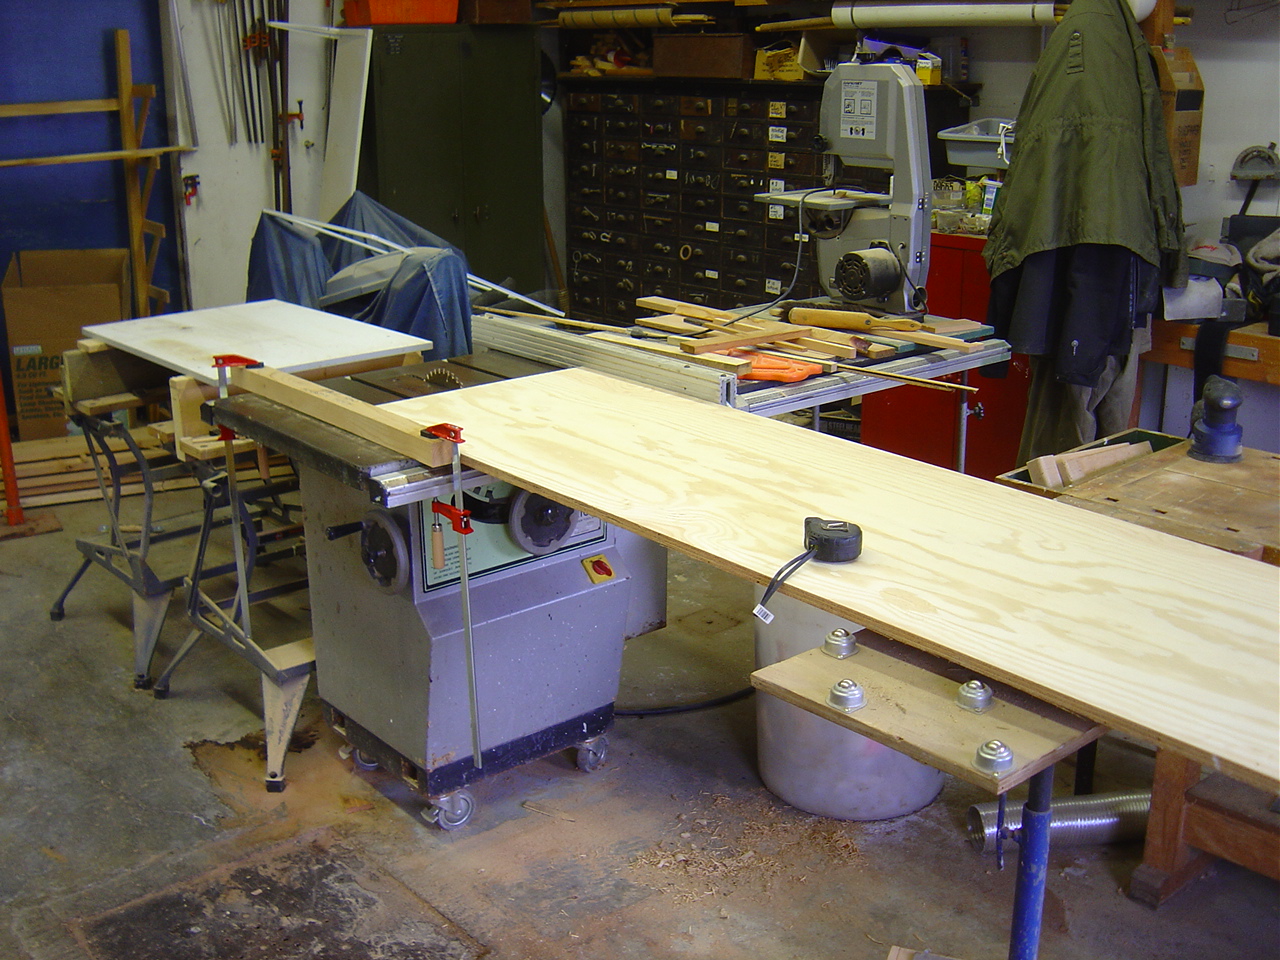
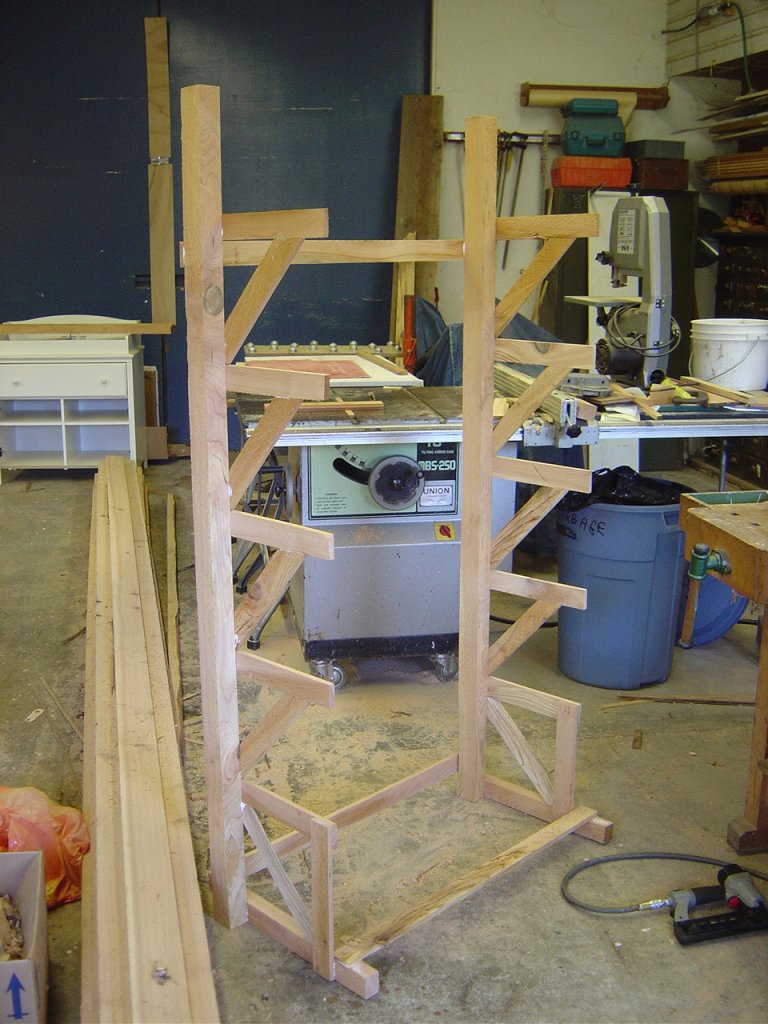
With a little bit of shop time left in the day, but not enough to start the router table frame I made up some new push sticks for the table saw. Since I have lots of odd small scraps of 1/2″ birch plywood left from the station molds of the canoe it was a good way to use some up. I used the template from Matthias at Woodgears.ca. They’re very comfortable and easy to whip up. I highly recommend them if you need to make some for yourself.

push sticks

Stem strips and some sawhorses

dogwood

Today was fun with hardwood. I have a small pile of dogwood I cut up a couple years ago before I even decided to build the canoe. I need some hard wood for the outer stems so I’m having a go with the dogwood. The outer stems need to be tough as they take a fair amount of abuse. Dogwood is one of the hardest woods we have around here so it seems like a good choice. The trick is getting the length I require out of a single piece. I got one of the stems out of this chunk here.

outer stem strips

After hewing and planing it square and cutting it down to size, three strips was all I could get in the length I needed.

maple deck rough

For the decks I’m trying to go with a very curly piece of maple I saved from the firewood pile. I cut this slab out with the chainsaw so now I need to bring it flat. The grain is very wild which makes it challenging to work but should make the finished decks really eye catching. If there’s enough thickness left in the slab I’d love to try and saw it in half and use the same piece for both decks.

maple deck planing

After some serious elbow grease, here it is relatively flat. Lots left to go but my arms had had enough of fighting the grain and taking deep shavings to level the board quickly. Though I have my #4 smoothing plane in the picture here, most of the grunt work was done with my #7 jointer set fairly deep. The smoothing plane was just to peek at the grain and see how it’s going to be best to attack it for the final finish when it’s cut to size. Which won’t be until the canoe is in its final stages.

My other project today was to build some sawhorses. To rip the strips and machine the edges I’ll need a lot of infeed and outfeed support. I plan to use the strongback halves for that, but I need to bring them up to the height of the table saw. The router table I’m making I’ll plan to be the same height as well for simplicity.

sawhorse legs

Our current project on the farm has left us with a surplus of cedar 2×6 end cuts. They’re too short to be very useful for most things, but too large to just chuck into the firewood pile. So they’re perfect for sawhorse parts. They’re actually 2-1/4″ thick by 6-1/8″ before planing. For the sawhorses I decided to rip them in half and make them out of 2-1/4″x3″. Though I did all the angle cuts first to make things consistent and have each pair of legs match exactly. Makes for fewer cuts as well.

sawhorse parts

Here’s the setup for the gang cut I did for the tops of the legs to mate to the stretcher on top. The fence is held on by brad nails, since the circular saw has an awkward foot plate and motor spacing that doesn’t allow for clamping on the fence most of the time.

sawhorse

I kept this first set only two feet wide. Since the strongback is only a foot wide, I didn’t want to have a lot of extra sawhorse taking up space in the doorway. I think these will be more useful and less in the way around the shop later on. I may do the next set at three feet wide for more general duty. Or not. We’ll see how the skinny ones work out.

Station Molds 2

station molds pile

A couple of solid sessions in the shop and the station molds are all cut out and faired now. I’ll be so happy to finish working with plywood. It’s convenient and flat and dimensionally stable but it sure is awful to shape and cut nicely. I’ve had a lot of birch splinters in the last two days.

felix helps

Felix helps out.

I got one of the farm cats to help layout the last mold. He didn’t really grasp the concept.

The centre mold (#0) is the only one that isn’t cut as a double layer, since there’s only one of its size. It was a real treat to cut through only 1/2″ instead of the full inch.

gang molds

Molds anchored together with brad nails.

All the other molds were cut in pairs. You can see the brad nails sticking out here.

cutting out mold

Part of the reason the process takes so long is you have to have your cut line off the table but still have the work supported. It makes for a lot of repositioning and reclamping. Straight cuts need a fence to be clamped on to keep the jigsaw on track. The fence needs to be 1-5/16″ from the actual cut line so there’s additional layout for that.

It would have been a bit faster if I wasn’t so fastidious about making the most of my plywood. I’m pretty cheap so when I  spend $70 on plywood I like to make sure I’ll be able to use every bit of it. I could have cut each mold set off from its neighbours with the circular saw instead of working with the half sheet from each end but my scraps would have been dramatically smaller.

I’m hoping to make a lot of the clamps and jigs needed for the rest of the build out of those scraps. Any leftover usable pieces will be a bonus.

out of square

Very much out of square.

While I was cutting out station #3 I was doing half of it in a very awkward position. I knew I was putting too much lateral pressure on the saw but I was desperately trying to keep it from touching the line. At least the angle was going into the waste side. The result was this mold pair was quite out of square compared to all the others.

Anyone doing this, take the time to make your cuts as smooth and close to the line as possible. It’s much faster than having to clean up the cut afterwards.

sureform tool

My friend the sureform tool.

The tool that has proved indispensable for this work is the sureform tool. It’s like a small cheese grater that you use on wood. I had first envisioned using my spokeshave to do the cleanup and fairing of the mold edges. That’s what the ideal tool would be if these were solid wood boards. The plywood doesn’t shape very well at all with the spokeshave, and it dulls the blade very quickly.

The sureform chews through it rapidly and leaves a surprisingly good finish for what it is. Blades are cheap and other than breaking off a few of the teeth it didn’t seem to change its performance at all throughout the job.

So a lot of plywood grating got my high edge down into orthogonality with its reference face. Most of the molds didn’t need so much grating. Which makes them ready for this:

sanding strip

Most of the cleanup I accomplished with 50 grit sandpaper wrapped around a thin strip of cedar. I got the idea from Nick Offerman in one of his youtube segments of this canoe build. It lets you keep the sandpaper following the curve and prevents it from developing any flat spots.

As you go you keep running your fingers along the edge to check for any peaks or hollows. That’s where you get the splinters. Any big bumps get sureformed off and the small stuff gets smoothed down by the sandpaper. Peaks are easier to deal with than hollows. Luckily I kept my saw on the waste side of the line so didn’t have to deal with any glue-in repairs. A few came very close though.

Cherry for trim

cherry milling 1

I threw a pin cherry log on the mill today. I’m hoping to get the gunwhales and thwarts out of this if it isn’t too badly checked. The log was cut almost two years ago but it has been up off the ground. The ends were very checked but after cutting off as much as I dared to and still be able to get the gunwhales full length it didn’t look too bad.

The cants that I took off did curve very dramatically once they were sawed. I’m hoping to use that to my advantage since the gunwhales need to perform a compound bend anyway. The bottom half of the log stayed much flatter. I assume that tension in the upper half was due to the way the tree was growing out of a hillside.

cherry milling 2

It’s too bad you won’t be able to smell the wood under the epoxy and varnish. This cherry smells amazing as it’s being cut.

The cants are stacked away under cover now to dry out some more before I try and get some usable trim out of them.

Paper to Plywood

fairing batten

Today I made the stem molds. This was the first time I’ve gotten to turn points on paper into a three dimensional object made of wood. The plans that I’d lofted earlier get taped to a scrap board (to save the workbench from holes and cuts). A tiny finishing nail is driven through each point I’d plotted earlier. I ripped a thin piece of cedar about 1mm thick to use as a fairing batten. By holding the batten against the nails I can then trace a fair curve that the points describe.

transfer to plywood

After carefully cutting with a razor knife along the curve produced by the batten a template of the stem mold is made. I left excess paper on the other side of the centre line and cut viewing windows as Canoecraft suggests. The stem molds don’t get flipped like the station molds so it’s not as crucial here, but it was very easy to line up to the factory cut edge of the plywood this way. I think it’s worthwhile doing.

You can see I’ve got two sheets of plywood on top of each other there. After tracing the template I lined up the factory cut edges of the plywood. I used my jointer plane on its side to align the sheets and keep them flush until they were clamped.

To keep them together while being cut out, I put four brad nails into the molds. You want to make sure that your brads are far enough back from the edges that you won’t risk hitting them while cutting the outline or drilling the clamp holes later. The first one sunk in too deep into the soft birch plywood. For the others I used a thin strip of wood left over from making battens and put it on top and nailed through that. Then I could just tear away the sacrificial strip and leave the head standing proud a bit which made them easy to remove at the end.

drilling clamp holes

I cut the area with the station molds off from the rest of the plywood with the skillsaw to make it easier to handle while cutting out. I started out trying to use the little bandsaw in the shop, but the blade was too wide and dull to do the job. Canoecraft says to use a reciprocating saw as a second choice, and claims a jigsaw is a poor choice. I have always had results to the contrary so I went to the hardware store and got a brand new blade for the jigsaw and did a test cut on some of the waste ply. The results were quite good and the cut was square so I proceeded to use that to cut out the molds. I’ll use it for the rest of the station molds as well most likely.

Once they were cut out I put them on end in the tail vise and used my block plane to trim it right to the line and knock off any slight high spots. After checking for square along the whole length of the edge I used a sanding block to touch the edges and remove any splinters that plywood always develops.

I used my marking gauge to scribe a boundary line 3/4″ from the edge and then laid out the spacing for the clamp holes. Canoecraft recommends 4″ centres so that’s what I went with. I drilled tiny 1mm pilot holes and then switched to the 2″ hole saw. By having the two sheets of plywood joined together you can use the hole saw from both sides to prevent blowout. Cutting down through the first sheet (stopping often to remove the sawdust and keep the saw cool) and removing the plug, I then cut down through the bottom sheet until the pilot drill poked through. After doing that to all the holes on one side, I flipped the mold and finished off each hole from the other side.

I would have loved to have a 2″ forstner bit for the clamp holes. Using one of those in the drill press would have made the process take a quarter of the time.

two stem molds

After pulling the brad nails out, what you’re left with is two identical stem molds. Obviously if the canoe being built isn’t symmetrical then you would need to do each mold individually. My huron cruiser is symmetrical so other than the centre mold (#0), I’ll be able to do all the station molds this way as well.

The next step is to prepare the strips to bend and form the stems themselves. I found a nice piece of cedar and had enough time left today to make up the three strips for one of the inner stems. The stems are 7/8″ wide and made of three pieces 1/4″ thick each. Because they will be steam bent in a fairly extreme curve a straight grain and no knots are required. Though Canoecraft doesn’t say to do it, I gave each strip a pass with the block plane to make them absolutely smooth where they’ll be glued together after bending. I also took a few more shavings off one end of each of the strips to give them a bit of a taper. The inner stem will be present inside the canoe when it’s finished and I’d like to have mine taper down into the planking so it isn’t so abrupt.

inner stem strips 1

I made sure to keep the strips oriented the same way they were before they were cut so the grain is consistent for ease of working later. I laid them in order on top of each other and taped them into a bundle with masking tape until I’m ready to bend them. I’ll do the same for the other inner stem and the two outer stems. The outer stems will be out of a harder wood to take the abuse, I just haven’t decided what yet.

Lofting

lofting station molds

Canoe building this week has taken place on our kitchen table with the drafting supplies. I’m using the table of offsets in Canoecraft to make the plans for the station molds. Not super thrilling work, but it is exciting seeing the shapes of the canoe coming out on the paper. Plotting the points requires a square edge like our table has, but I’ll need to take the papers to the shop where I can drive small nails into the points and join them with a batten. I shouldn’t drive nails into the kitchen table.

The extra sheet of paper with numbers is the table of offsets converted to metric. I find it much easier to use millimetres than the awkward feet/inches/eights+ notation given in the book. Even if it was just in inches like 19-7/16 it’d be fine. But 19-7/16″ would be written in the table of offsets as  1-07-4+. Not very intuitive, or easy to find on a ruler. So I wrote a quick PERL program on the computer that I could throw the funny notation into and it would generate me a table in metric units.

Planing the planks

Good weather has finally struck for a few days in a row. I’ve moved the thickness planer into the covered bay outside and set up some sawhorses with the plywood from the strongback as the infeed and outfeed tables. I took two afternoons to slowly bring all my planks to a uniform thickness.

 SAMSUNG

SAMSUNG

It’s important that the planks are the same thickness all the way along so that the strips will be consistent in width once they get ripped on the table saw. The sawmill that cut the planks out from the log tends to leave the center of the board slightly thinner since the track vibrates more in the middle furthest from the end supports. The rough surfaces would also make it so the edges won’t follow the fence tightly on the router table when the bead and cove are put on.

You can see the swirls left by the edger blade of the sawmill on the top plank in this photo. The second and third plank down has been finished smooth by the planer.

SAMSUNG

You can also see the colour variation between the darker heartwood and the light sapwood on the outside few centimetres. When the planks get ripped into strips that should give me some different textures to use for accent strips.

I also got two and a half garbage cans full of cedar shavings.

SAMSUNG

Back to work – Starting the Strongback

After giving the planks 8 months to dry out, they’re ready to get machined into strips. To do that the planks have to go through the thickness planer, the table saw, and a router table. Each of those operations requires an infeed and outfeed of about 18′ each. So the doors for the shop need to be open and the planks come in from outside in order to have a straight 40′ to work within.

While I wait for good weather to do the machining I bought the plywood to make the strongback. I had the hardware store rip the 4 sheets I bought in half lengthwise so I could handle it more easily by myself. The rest of the cuts I could then do easily on the table saw. The strongback itself is made of two sheets of G1S fir 3/4″ plywood. I went with more expensive birch plywood for the station molds since it has fewer voids in it and the light colour will make it easier to copy the mold lines onto and cut to the line.

DSC00329

The strongback is a box beam on legs which supports the canoe while it’s built. Since all the station molds are attached to it, any twist or warping in the strongback will show up in the final canoe. One of the reasons that Ted Moores suggests using plywood for making the strongback is for dimensional stability. I went to great lengths to ensure that all the cuts I made were straight and square to the reference edges. The box beam itself is in three pieces to accommodate different length canoes. I used glue and screws to fasten the plywood together for the individual parts but I’ll leave the glue off the joints between sections and legs. Once the project is over I want to be able to take the strongback apart and store it in a compact fashion.

DSC00330

DSC00331

The legs are made out of three layers of plywood laminated together. The ‘feet’ are about four feet wide which should keep the whole thing fairly stable. Each corner gets a chunk of plywood that floats in between the layers and those are used to level the whole strongback on the floor.

DSC00340

DSC00338

I’m going to keep the top off the box beam for now so that I can use the pieces of plywood as my infeed and outfeed tables for machining the strips. Once the strips are made up then I’ll set the strongback up in its permanent (for the duration of the build) home.

DSC00341

Storage Rack

lumber_rack_2

Storage for the strips once they’re milled.

I spent a couple of hours making up the first of the storage racks that I’ll use to store the cedar strips once they’re made. The rack above is a metre across and I’ll have two more just like it. The three racks evenly spaced should support the length of the strips. This setup should allow me to keep the material out of the way against the back of the shop, while still making them easy to grab as I plank the canoe.

Having five levels should let me keep the strips organized by how light or dark they are. Individual boards will be kept together as they’re ripped so I can bookmatch the strips as they go on. I also want to keep the hull from ending up with all the light or dark wood in one place. I’m not sure what if any pattern I’ll go for, but I need to see how the strips turn out before I plan too much.

Milling the cedar planks

bobcat_log

This is the log that will become my canoe.
 

The first step in building the canoe is turning a cedar log into planks. The final strips will be 1 inch high by 3/16″ thick. Those strips will be ripped out of planks 1″ thick which will be cut out of the log on the sawmill. The wood is still green at this point so the planks will need to be put aside to dry before it can be ripped down on the table saw into strips.

The sawmill at the farm is a Mobile Dimension Model 128 from the early 80’s. It has a main blade 30″ in diameter that can make a vertical cut up to 12″ deep and two edger blades that make horizontal cuts up to 4″ wide. You can put on wider edger blades to make bigger horizontal cuts, but ours is pretty much always set up with the 4″ edgers. The log is put into the cradle and held in place with spring loaded steel dogs on rails and the saw moves down a track to make each board. So with the blades set up as they are you can make up to a 4×12 piece of lumber in one cut.

Most of the time we cut all our boards vertically. So a log that was 15″ in diameter we could get two rows of 1×6’s (the bottom 3″ is lost because it’s pinned in the dogs), or one row of 1×12’s.

The planks I’ve made are 4″ wide since that’s the width that the edger blade on the sawmill can cut in one pass. Wider boards would make less waste (in the form of sawdust), but by using the edger to cut some of the planks width wise I can choose the grain orientation better. I want to make the strips for the canoe mostly flat-grain in orientation so I need the planks to be edge-grain cut. That is to say the grain would be perpendicular to the board so that when the board is ripped into strips the grain will be parallel to the strips.


milling planks

This board is one of the four that will have perfectly aligned grain for making flat grain strips.
 

The log I chose is 16″ in diameter. Once the waste cuts are trimmed off the sides it gave 3 rows of 1×4’s. The top and bottom rows were cut vertically while the middle row was cut horizontally. This gives me four boards that have the grain perfectly perpendicular to the width, and eight boards that are pretty close. When I rip the planks into strips those ones will get put aside for doing the hull above the waterline where it’s most visible.

planks on truck
The final stack of boards that are going to become my canoe.
 

These boards are going to have to dry out quite a bit before they’ll rip nicely on the table saw. They’ll go down to the back of the wood shop where they’ll be left alone for awhile before I get back to them.