To put the strips on the inner stems need to be profiled with a rolling bevel. The sides are very acutely angled at the top of the stem and change to being almost flat where the stem turns into the bottom of the boat. It’s best to tune this bevel as the strips go on to make it fit as best as possible. It’s much easier however to work with the stem off the mold so I roughed it in on the top half of the stem on the bench. I made sure to leave some material for adjusting in place. It turns out I left quite a lot once I got to the first strips.
Which also made me realize that if I had used 3/4″ material for the stem molds I’d need to remove some of the mold material for the strips to fit the bevel. So if I do use MDF for another boat, it’ll be 1/2″ I guess.
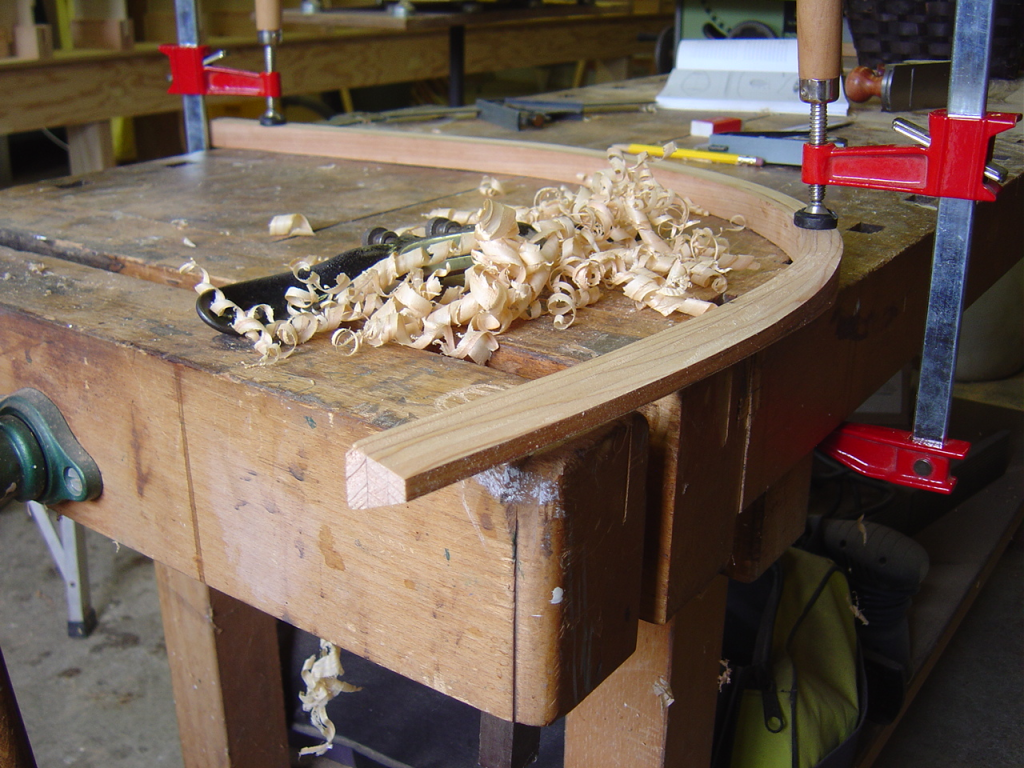
I really love working with the spokeshave so this part is quite fun. The epoxy in the laminated stems is pretty tough on the blade though. I had to sharpen twice to do the rough shaping on two pieces about 1m long and 2cm square.
Here’s a view of the bevel starting at the top of the stem. It got a lot sharper than this once I started checking with the strips.

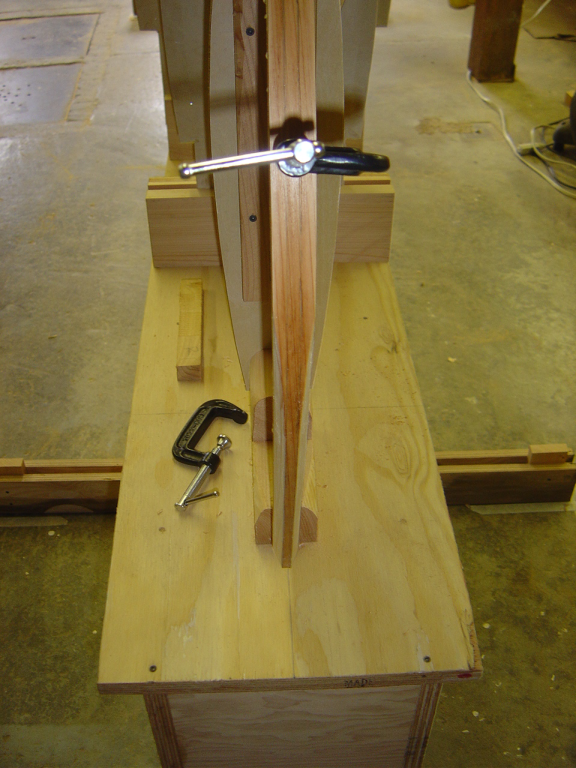
This is the first two strips clamped to be glued to the stem. You can see how sharp it got below the clamped area. The wedges are just there to provide a parallel surface for the clamp to act on. They aren’t glued on at all. In fact they are some of the wedges I’ll be using to keep the strips against the molds later on.
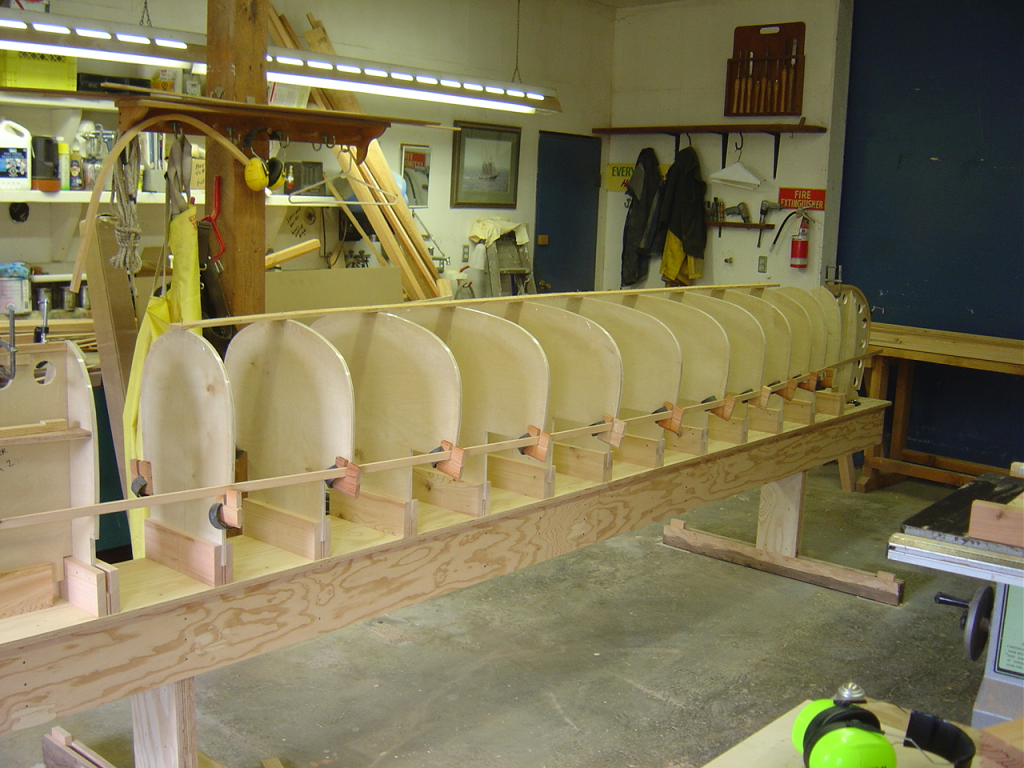
Here’s the first strip held in place with wooden brackets and clamps made from ABS pipe with a slot cut in it. I don’t have near enough C clamps to do all the strip clamping jigs I need so the clamps made of pipe are an economical alternative. They don’t hold very tight compared to any screw type clamp but for getting things aligned they are sufficient. I put a brad nail in the strip on the centre 5 molds where the strip will be covered by the gunwhale later on to keep that strip anchored once I got it dialed in. All the other strips take their shape from this one so you need to get the fair line established here.
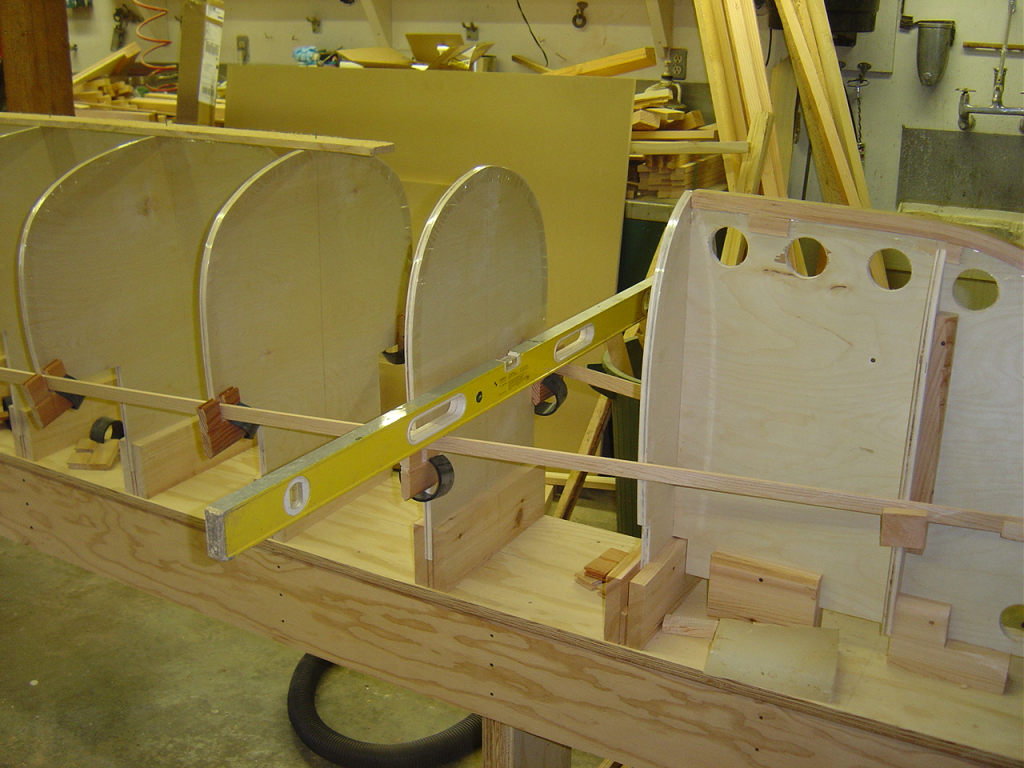
Once one side is tacked in place the other side is held in by clamps and using a level you can make sure they are parallel to each other. That’s important so the strips will proceed up each side at the same rate.
The area below this first strip will get filled in with shorter strips to make the shear line rise up to the stems.
Next I’m going to need to make a big pile of L shaped brackets to attach to the molds to clamp the strips with wedges.
