
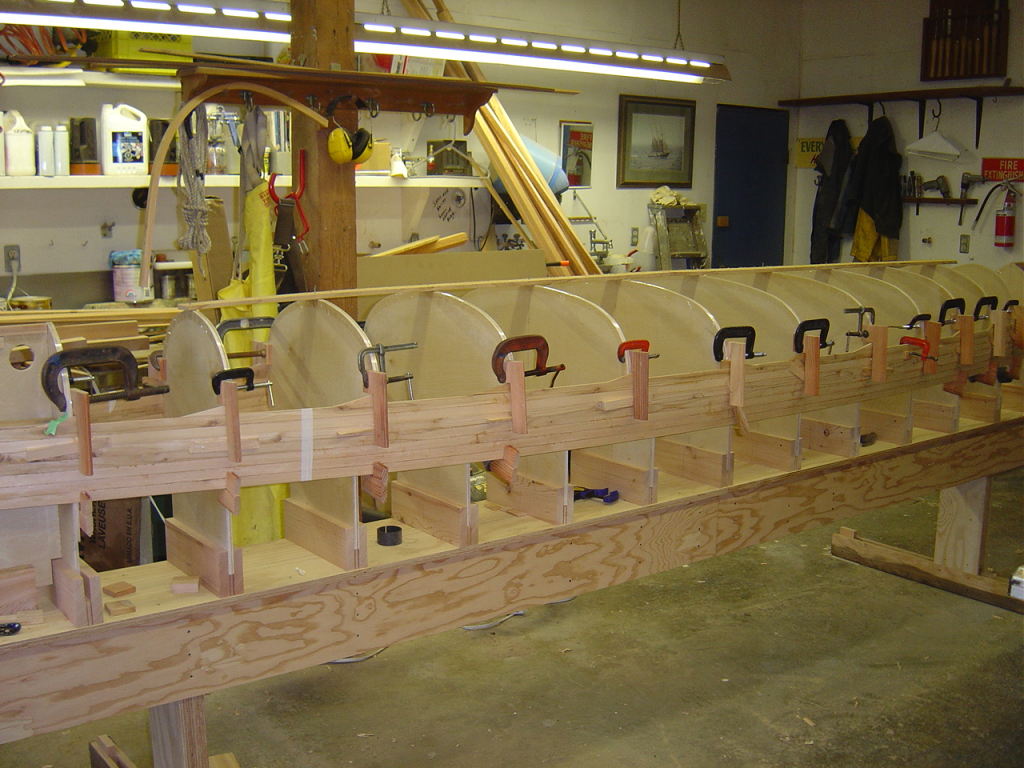
In order to proceed with the planking I first had to do a few hours of jiggery. That is, making the fixtures and wedges needed to hold the planks tight to the molds and each other while gluing them up. I’ve elected to build my canoe without staples which means a lot more clamps and fixtures are necessary. I can certainly see the appeal of the stapler at this point as it would allow you to really fly through the planking. I think the quality of the finished product will be worth the hassle though.

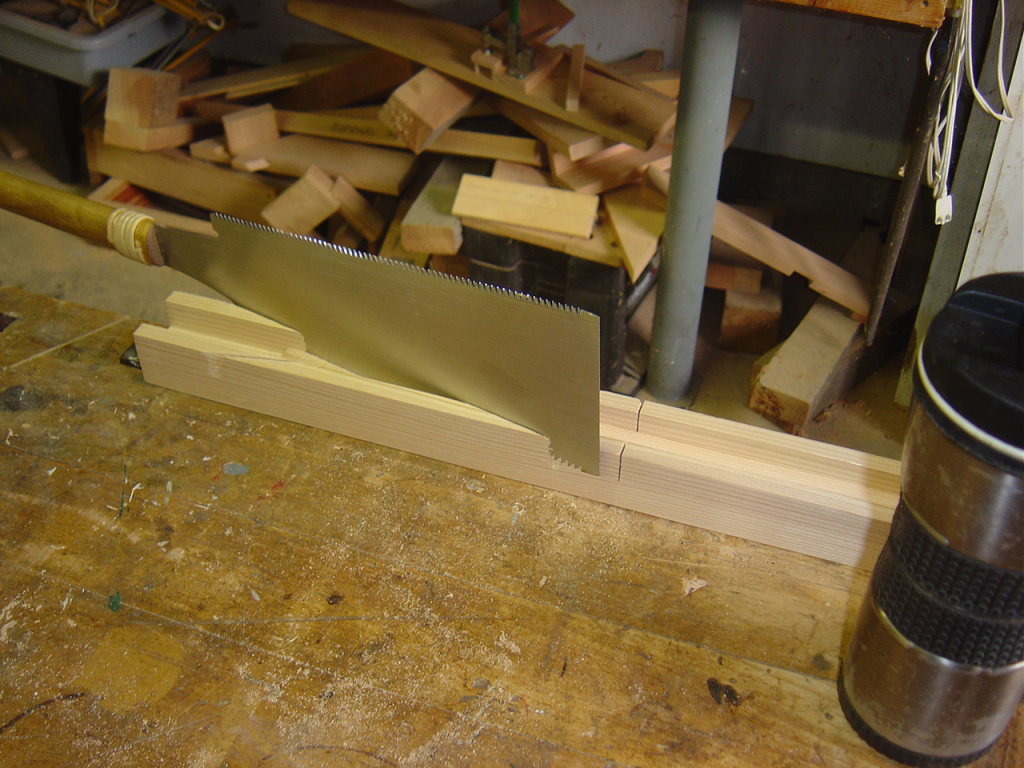
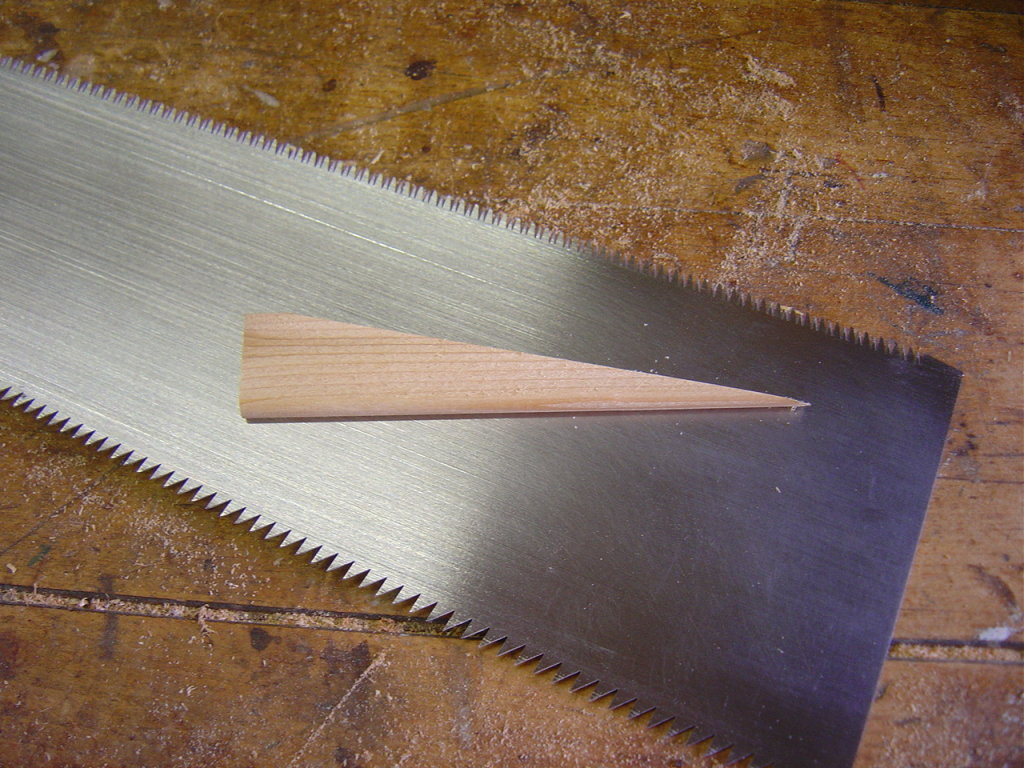
To make the small wedges that push the planks tight together I had to make a tiny mitre box that would just fit one strip. I had set aside a small bundle of strips at the beginning of the machining process and only put the bead profile on them for this. Cutting the long diagonal and leaving the bead on the long flat side gives you a wedge that can push against the strips without damaging the cove edge.
I also put a 90º cut in the box to quickly cut out broken or unacceptable sections of the planking and make flush butt joints. I tried to keep the tight knots in for visual effect but some of my boards had loose knots that make for weak sections or areas that would need filler.

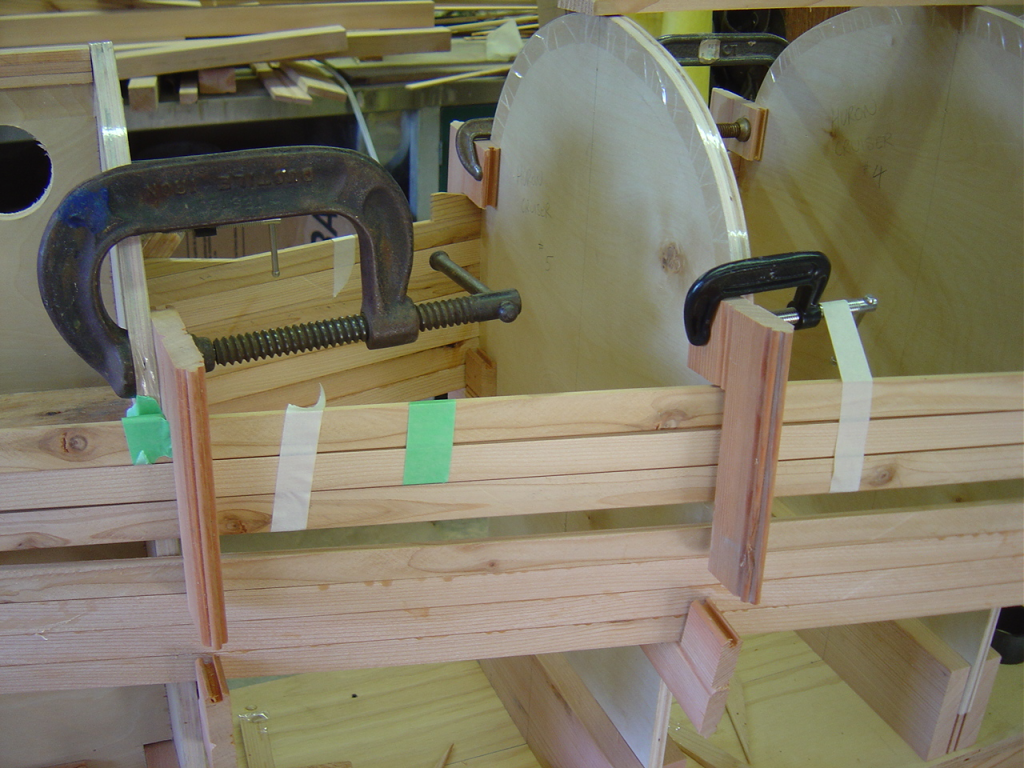
This is how the wedges work. The L shaped bracket gets clamped to the station mold with a small gap between the long arm of the L and the strips. Three strips at a time fit under the bracket. After the glue has been applied to the cove of all the strips, the wedge with the bead gets pushed in under the short arm of the L and clamps the strips down tight to each other. Then a flat wedge gets driven in the gap between the long arm of the L and strips to keep them tight to the mold.
Be sure to put packing tape or wax on the flat wedges so they don’t get glued to the strips by the squeeze out.
I wipe all the squeeze out off with a wet rag once all my wedges are in place.

Where two shorter sections of strips are joined I put two small blocks (covered in tape) and a clamp across the joint to keep it in line.
The trick is getting all the strips under the L brackets but still having room to apply the glue. At first I used the flat wedges to try and keep them up. It worked sort of but it was difficult to drop just one strip at a time when I wanted to. Masking tape worked much better because I could peel it back and move each strip down in turn.
It’s also great for adding some extra pressure between molds.
One of the better decisions I’ve made on this build is to spend the money for better glue. I’m using Titebond III for gluing the strips together. The longer open time is a huge bonus. I don’t know how you’d do three strips at a time using yellow PVA carpenters glue unless you had a helper.
I’ve found that I can prefill two syringes with glue and that’s just enough for three strips. I keep a bucket of water in the sink so that when the first syringe runs empty half way through the second plank I can just suck up the water and leave the syringe in the bucket. Then I can adjust wedges and get the strips cleaned up without worrying about the syringes getting ruined by dry glue.
